For this tutorial you will need the following:
•PSP (I use 9 but any version should work)
Animation Shop •A tube of your choice.
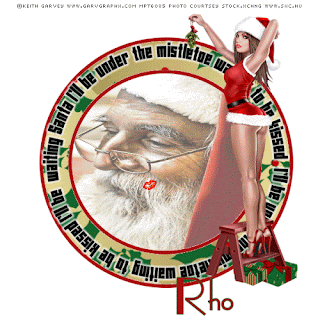
(I am using the wonderful artwork of Keith Garvey)
http://www.mypsptubes.com/Purchased with a license from
•Stock Photo of choice-Mine is from Stock.Xchng http://www.sxc.hu/
•Font of choice (I am using Angie's new house)
Eyecandy 4 gradient (sorry it is no longer available for download) •Background paper & Embellishment of choice (I used ones from Clarey's Holly Jolly Scrap Kit)-Get it
http://www.clareysdesignz.blogspot.com/ Animation of choice(I have supplied a few for you to choose from) •Tutorial Supplies-Get them
http://www.4shared.com/file/34405879/bffb6c7a/Kisses.htmlOk Let's get started
Open new image 600x600 we will resize later
Flood fill white
Foreground #C00000 BG Null
With your preset shapes tool Ellipse (vector checked) Line width 5.
To make a perfect circle hold down the shift key while drawing it out.
Draw out a circle use tag as reference objects align center Convert to raster layer.
With your preset shapes tool Ellipse (vector checked) Line width 5.
Draw a smaller circle in middle objects align center Convert to raster layer.
Merge down
Change foreground color to your choice of background paper
Take magic wand and select top circle and flood fill it with background paper
Select none
Preset shape again draw out a new circle this is where you will apply curved text do not convert to layer we Will be deleting this layer after text layer is applied.
New raster layer
Open Text Choice and add your saying
(when applying it you will see an a with a halfcircle that will show you that the text is being curved
Add gradient glow or your choice of drop shadow
Convert text to layer
Delete the preset shape ellipse, DO NOT DELETE saying
Magic wand click inside white circle
Add a new raster layer
Copy stock photo and paste into selection select none.
Change the opacity to 60%
Layers Arrange Move Down
Open presents resize
Paste presents and tube
If you wish to stop here and not animate add Name and copyrights,Resize to your liking.
Onto animation Open kisses in animation shop.
Open kiss animation of choice
Delete any empty frames
In PSP copy merged tag take to animation and duplicate it so it has same number of frames as the kisses
On kisses edit select all copy merged image edit select all>br> Drag the kisses to merged image and place how you like them.
Run animation if too fast slow it down I did mine at 25 frames.
To change the speed go to Animation >Frame Properties
If happy with it save as Gif and your done :-)
Tutorial written by Rho Dec. 11th 2007


